Overview
In this tutorial, we’ll show you how to connect your Sweep&Go account to mailchimp so you could automatically add new recurring Sweep&Go clients to Mailchimp. It is also possible to add one time clients to Mailchimp.
Requirements:
- Sweep&Go account (POOfessional Plan)
- Zapier Account (Starter Plan or Higher)
- Mailchimp Account
Step #1: Connect Zapier with Sweep&Go Webhooks
See tutorial Zapier + Sweep&Go via webhooks
You will need to choose the event: client:client_onboarding_recurring in the linked tutorial.
Step #2: Send sample data to Zapier
After you finish connecting Sweep&Go with Zapier, please send some data to Zapier webhook to continue building the integration.
Log in to your Sweep&Go Employee Portal and add a new client using dummy data(please refer to https://www.sweepandgo.com/pooper-scooper-app/tutorials/client-management/residential-clients/ if you’re not sure how to create a new client trough Employee Portal)
Go to your Zapier webhooks and click on “Test Trigger” and you should see the data that you entered within your client onboarding form.
Step #3: Add Mailchimp to Your Zap
Click on the plus icon under the webhooks and search for Mailchimp
For the event, this time we will use “Add/Update Subscriber”
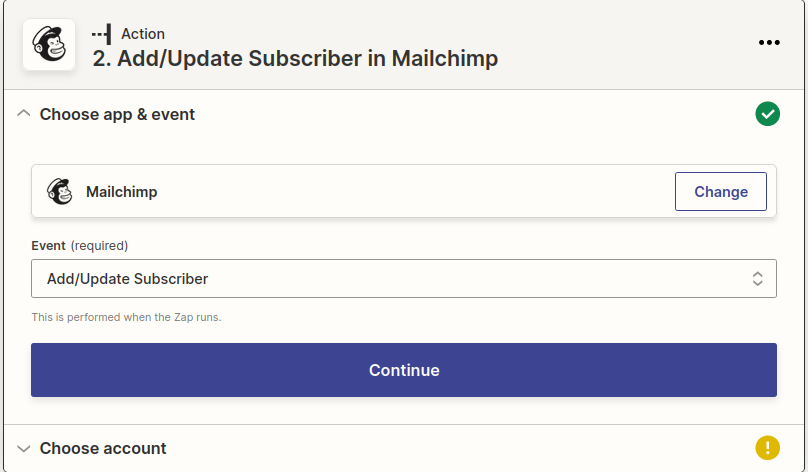
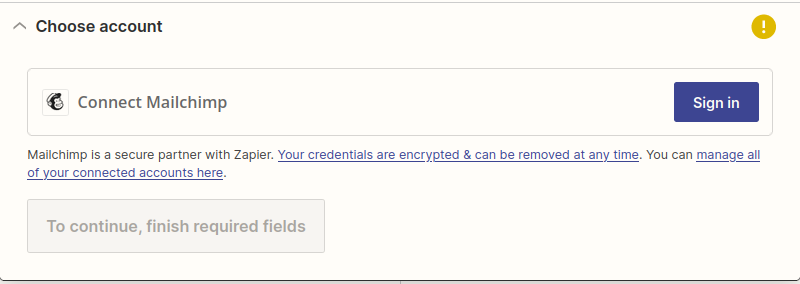
If your Mailchimp is not connected to Zapier, it will ask you to sign in, click on the sign in button and follow the instructions.
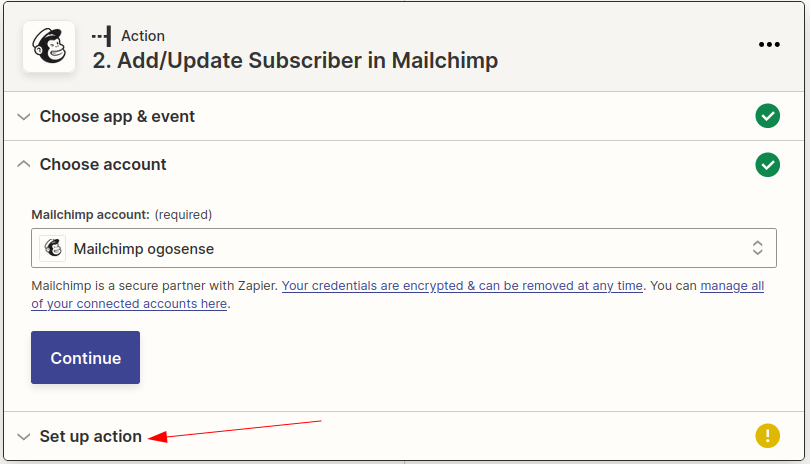
After your Mailchimp is connected, you will see a new “Set up action” step
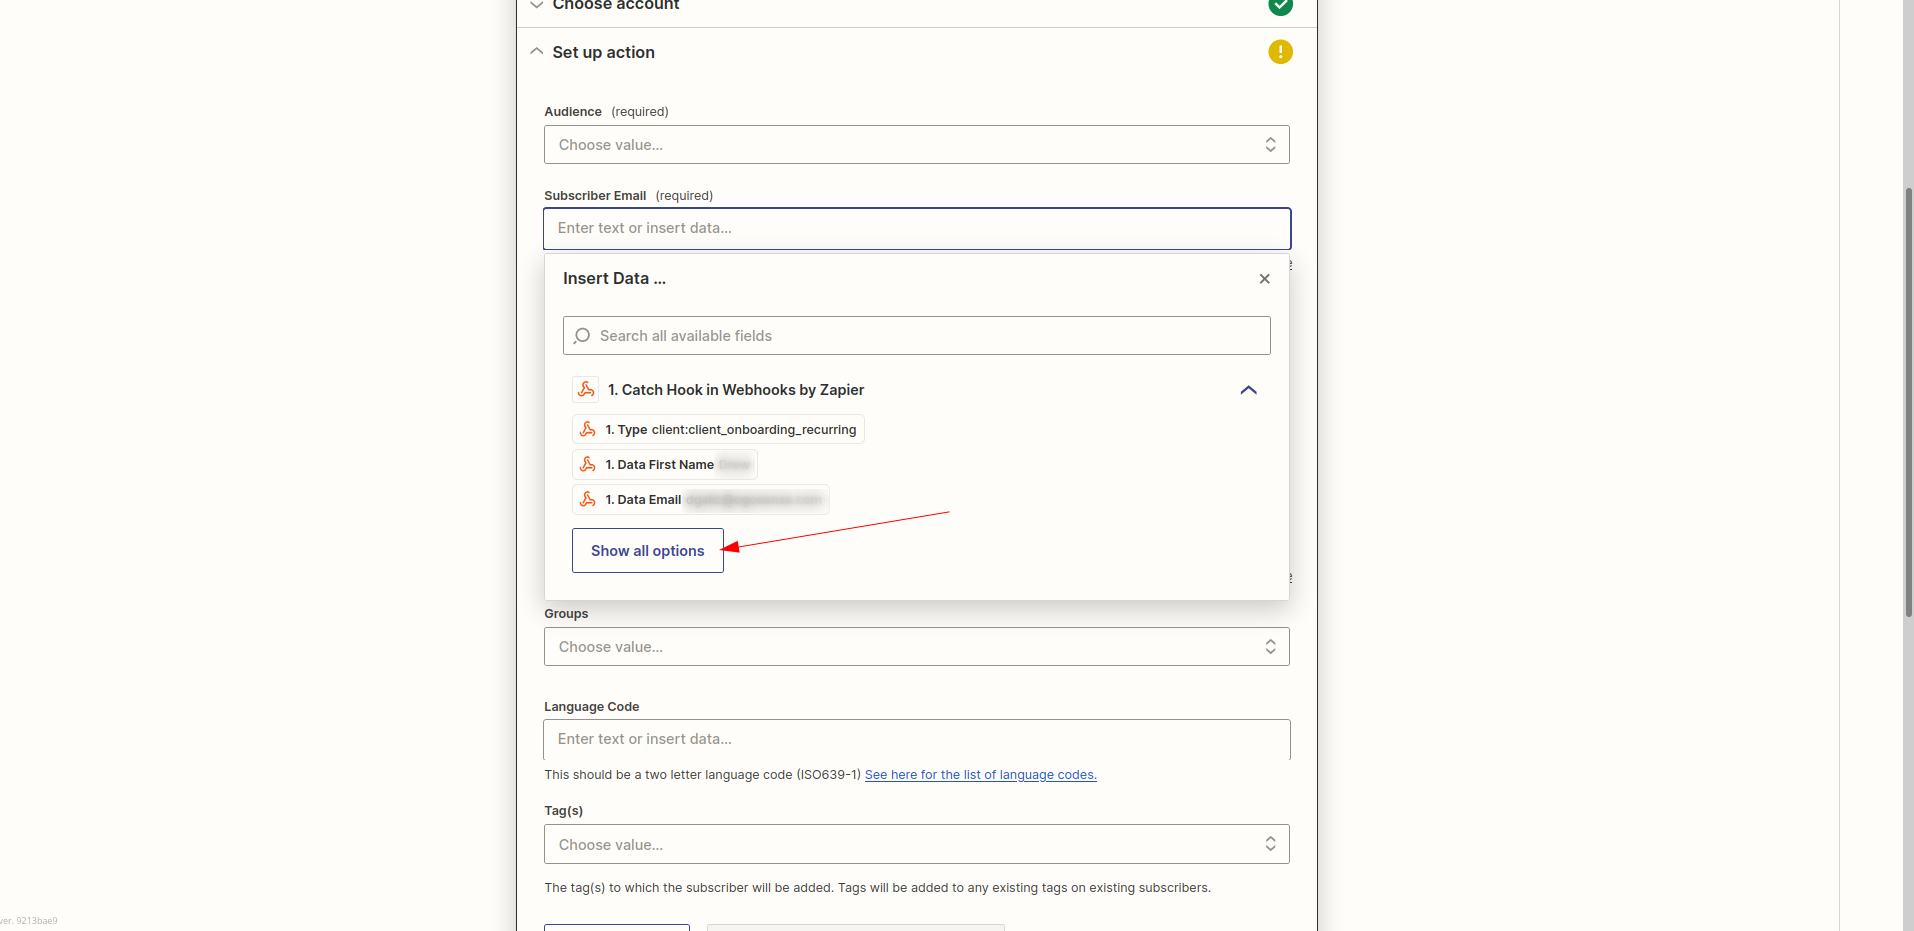
You may now fill out all the fields you need. If you need Sweep&Go data, it will be shown when you click on any of the fields, press “Show all options” to see all webhook data.
Step #4: Test and Publish Your Zap
After finishing the action step, you will be switched to “Test action”, click “Test & continue” and after that you will be able to publish the Zap and this will afterwards automatically send all new leads to your Mailchimp account.
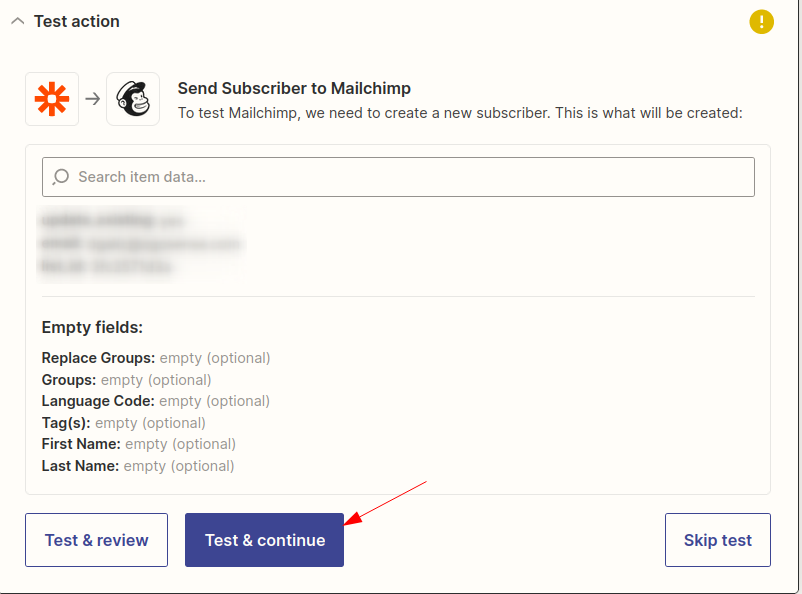
To be sure that the integration is working, after clicking “Test & continue”, check your Mailchimp account and find your test submission.